
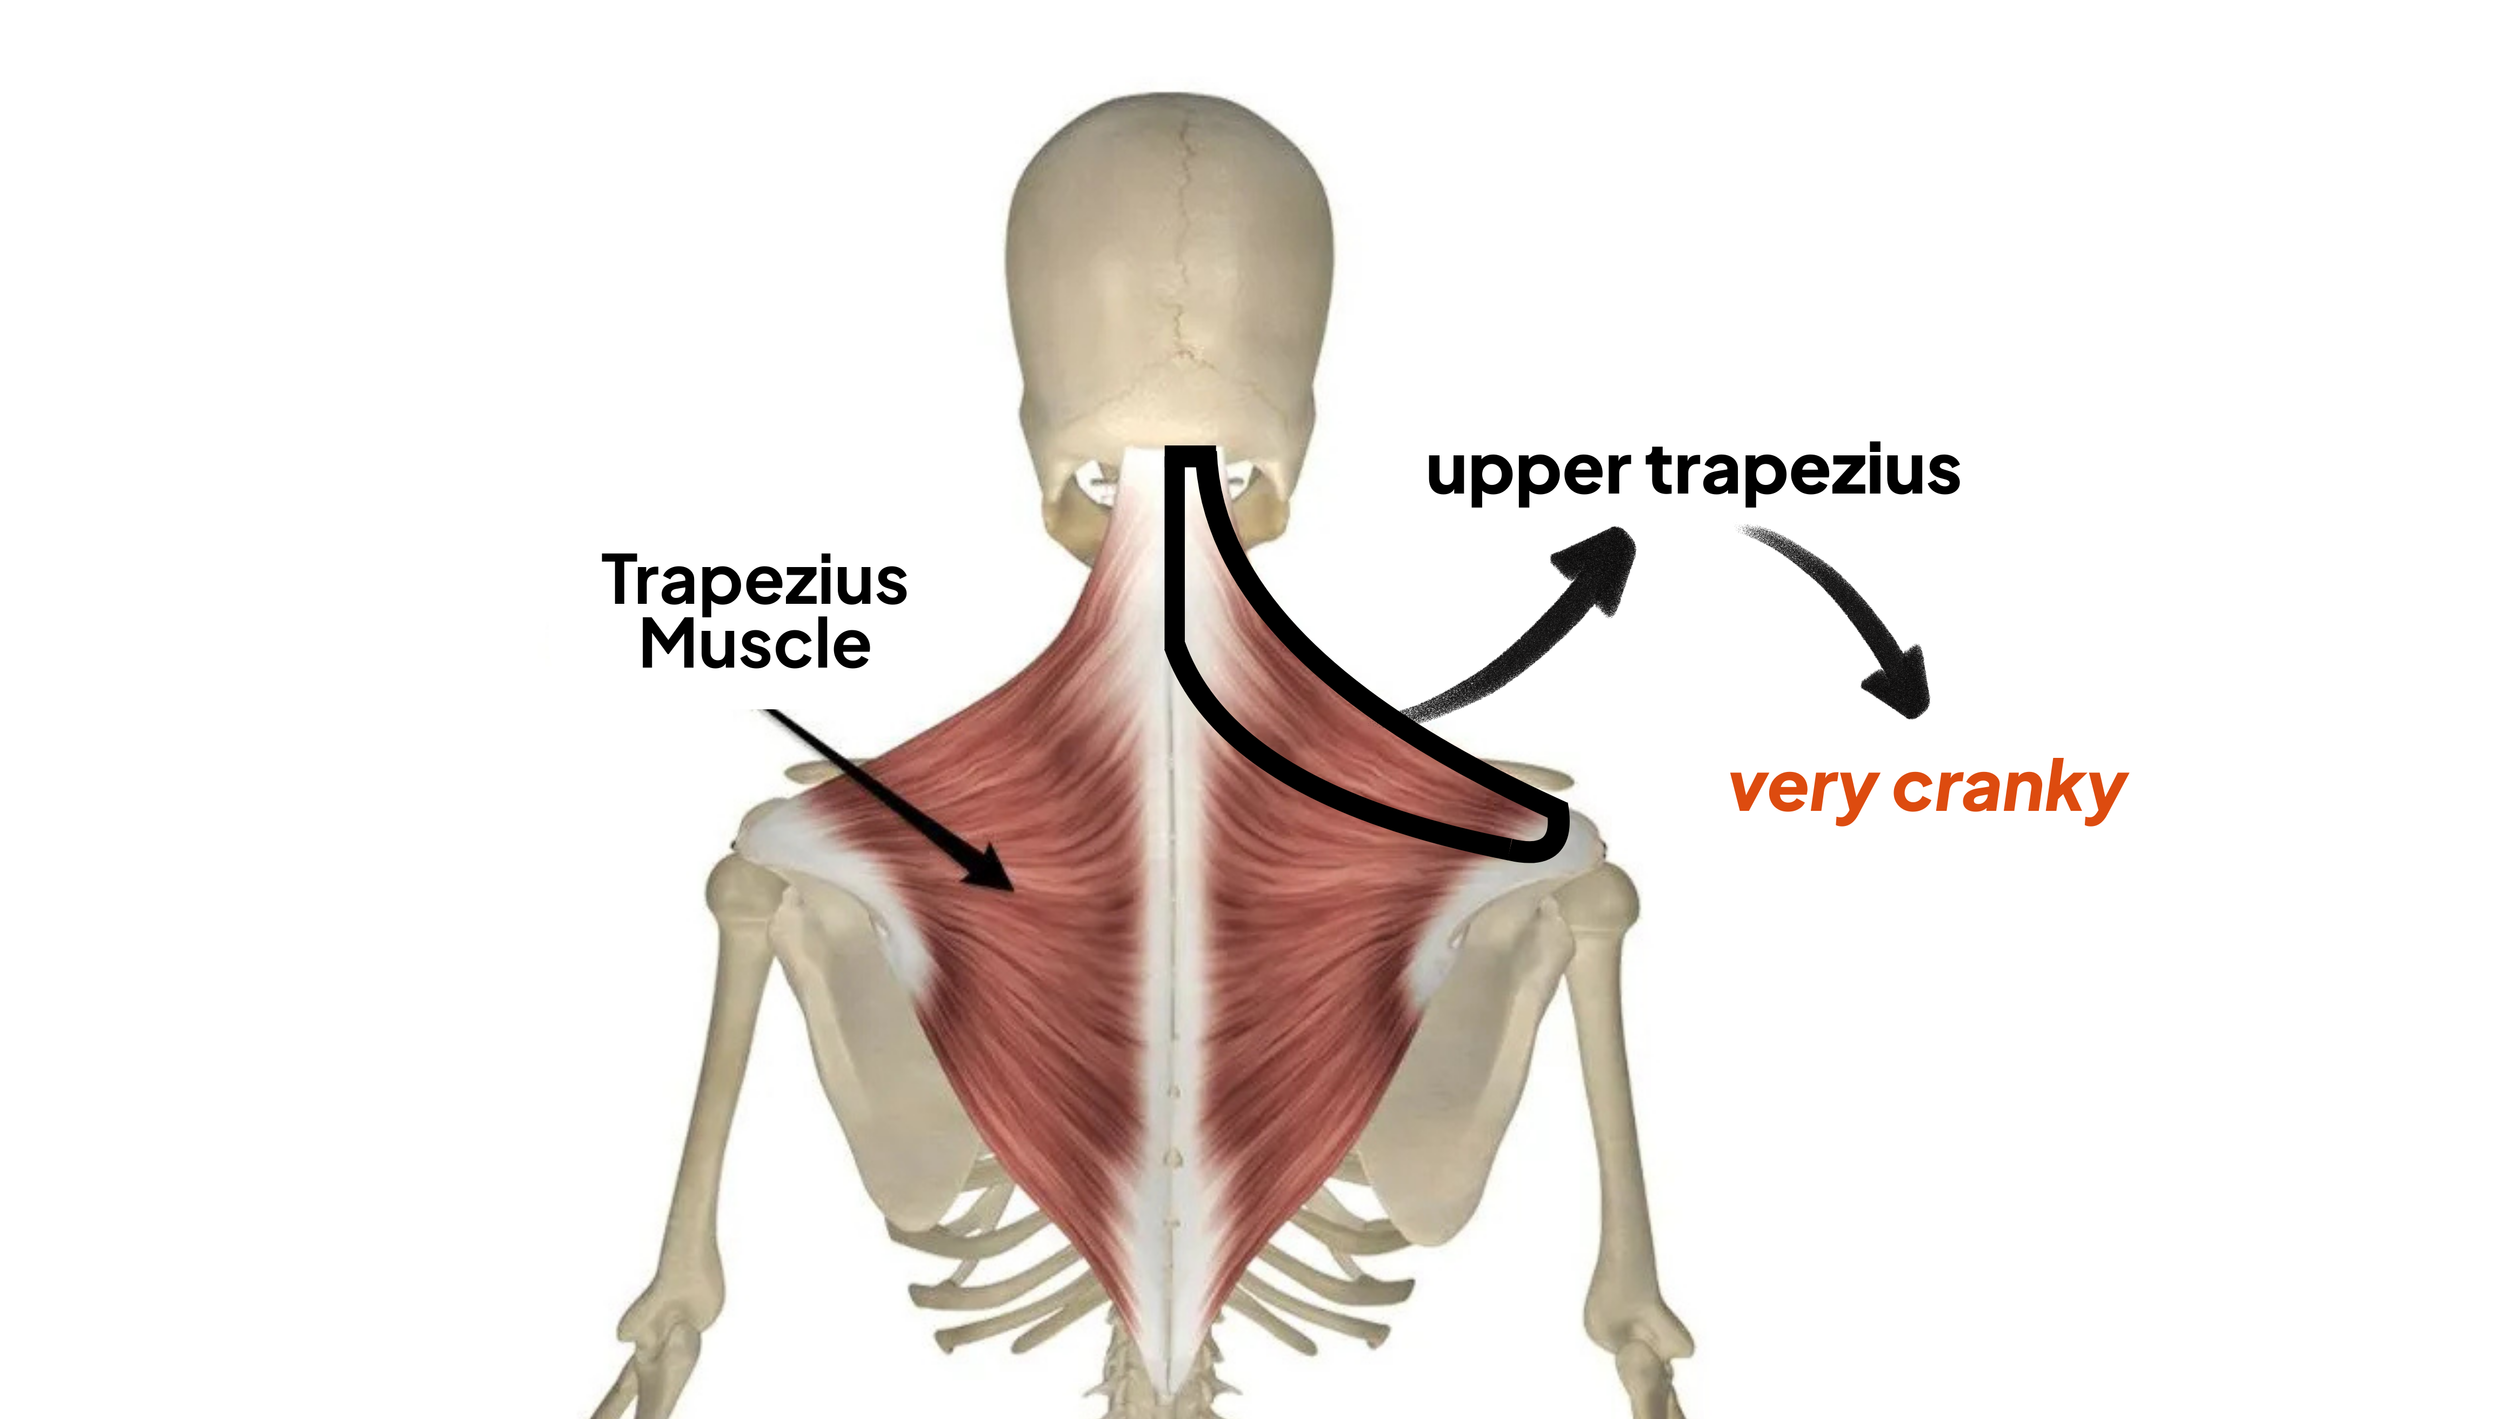
Tight & painful upper traps?
Why stretching & smashing your tight traps never quite does the trick, and what to do instead.
Here's the problem: most upper traps are TIGHT AND CRANKY because, frankly, they're overworking. Why are they overworking, you ask? Great question. Usually, this happens because your neck and scapular stabilizer muscles are either inhibited (firing much less than they should be), OR they lack the motor control to coordinate with other muscles during complex, multi-joint movements. Think of it like this: your stabilizer muscles can show up and do their job just fine when working alone in a quiet room, but the second they need to collab on a group project, they freeze up and stop contributing. When your stabilizers can't pull their weight during multi-joint, coordinated efforts, your upper traps, ever the overachievers, try to DO IT ALL. This is why just stretching or “releasing” your traps rarely provides lasting relief. You're essentially telling an overworked employee to take a break without training the rest of the team to actually pitch in and work together. The solution? Stop treating the symptom and start addressing the root cause by resetting the whole system.
Before we dive in, a quick note: this post focuses on the theory and strategy behind effective exercise sequencing for upper trap relief; it does not detail any specific exercises themselves. If that’s what you’re looking for, you can find examples on my instagram (free) or see the whole sequencing strategy in action in this 30-minute virtual class I taught this morning (not free).
The Sequencing Strategy
First of all: everyone's body is different, and there's no “one-size-fits-all” solution to banishing trap tension. HOWEVER, after working with thousands of artistic athletes over the past decade, I've found that the vast majority of people with chronically tight upper traps respond quite well to the following strategy for sequencing a “tight trap” mobility routine:
Part 1: Thoracic mobility
Thoracic mobility is QUEEN. When your upper back is stiff and restricted, your neck has to compensate for that lost movement, and THAT puts extra strain on your upper traps. By mobilizing your thoracic spine first, you're creating the foundational mobility that allows everything else to work properly. Without this mobility, your stabilizers are working at a mechanical disadvantage from the start. So first, we MOBILZE.
Part 2: Isolated neck stabilizer activation
The primary stabilizers I like to focus on first are the deep neck flexors: the deepest layer of muscle on the FRONT of your cervical spine. When functioning properly, they contract in tandem with the deep stabilizers in the back of your neck, creating a super cool built-in neck brace (…or; a “meat corset,” depending on your linguistic preferences). Our first goal is to literally wake them up and make sure they know how to do their job…this isolated activation work gets them firing again before we ask them to coordinate with other muscle groups.
Part 3: RELEASE THE TRAPS!
NOW is the ideal time to give some sensory input to those cranky upper traps by using mobility tools like a lacrosse ball or peanut (…aka “smashing,” though I hate that term). The primary mechanism by which this type of self-massage works is by decreasing the resting tone of your upper traps, so that when they are at rest, they are no longer CONTRACTING…instead, the muscle is actually just chillin. All you need to get this effect is 45-60 seconds of mobility tool work per trap. PLEASE NOTE: more intensity is not better. If your mobility work is so painful that your body guards against it, you're shooting yourself in the foot. Keep the pressure in the “strong but tolerable” range and focus on deeeeep breathing.
Part 4: Neuromuscular re-education (motor control)…AKA; learn to play nice in the sandbox
This is where we tackle the motor control issue head-on. After your mobility tool work, you MUST follow it up with exercises that teach that muscle how to work together with other key players: in this case, we want to work on neck and upper body movements that require your upper traps to work WITH…NOT dominate…your scapular stabilizers and neck stabilizers. We want those muscle groups to learn how to function properly in coordination, so no one gets burnt out. Without this phase, your neck stabilizers might be "awake," but they still don't know how to collab with the team, and your old compensatory patterns will creep right back in within hours.
Part 5: Targeted scalene stretch & first rib mobilization
Now that your upper traps are relaxed and your scapular stabilizers have been retrained to work as a team, this is the perfect time to address any scalene tension, which tends to be quite common in movement artists. Before this point, cranky traps often get in the way of accurately targeting your scalenes, so I like to save the scalene stretch for later. Here's why scalenes are important: part of this muscle group attaches to your first rib, which is mobile, and sits juuuust below your upper traps and behind your collarbone. If you FEEL like you need to stretch the side of your neck by tilting your ear to your shoulder, but it never really hits the spot that feels tight, this is likely why: because the first rib is mobile, if your scalenes are tight they tend to yank on (and therefore elevate) the first rib when you tilt your head to the side. This doesn’t actually allow the scalenes to stretch. Womp womp. The fix for this is to FIRST tack the rib down with a yoga strap and THEN side bend your neck. This keeps the rib from elevating, and allows you to target the scalenes. For folks with this issue, this type of exercise can be a GAME CHANGER.
The Grand Finale: END WITH STRENGTH OR STABILITY DRILLS!
The final piece is one more round of stability or strength work that reinforces muscle activation and motor control in a functional context. This drill, along with allllll the previous drills, helps to really solidify the motor control patterns that you just worked on to finally…FINALLY…relax those traps.
Why the order matters
Each exercise builds on the one before it, addressing mobility, muscular inhibition, and motor control deficits intentionally and systematically. Without thoracic mobility, your stabilizers struggle to coordinate effectively. Without activating inhibited muscles, they can't participate in coordinated movement. If we don’t “release” the traps, their high tone will override any attempt at coordination. Without teaching motor control through multi-joint exercises, isolated activation won't translate to functional movement. Without relaxed traps, it’s challenging to access your scalenes. And without that final stability drill, you're not hitting the “save” button on those newly coordinated patterns.
Want to see it in action??
If you're like "Okay, this all makes sense, but HOW do I actually do all of this?"…I've got you covered. If you’re looking for free exercise examples, you can find LOTS of those on my instagram. If you’re looking for a “plug and play” option and don’t mind spending a few bucks, I just uploaded this morning’s 30-minute, follow-along style “Tension-Free Traps” class to my on-demand platform. We follow this exact sequence, and (as always), I discuss the “why” of each drill as we go. Rent it for a month for $7.99, or sign up for my monthly class membership and get instant access to this class plus my entire on-demand library and two live classes per week for $75.